|
|
|
GALLERY CONTINUED
PAGE TWENTY-FIVE
A class will do wonders. Where to start? Greg Martin of Disney's "Secret Lab" taught a class at www.friedman3d.com The Abram Friedman Occupational Center in advanced (basic to him) modelling using Alias|Wavefront MAYA. I learned too many things to put on one page, but a few gists go like this: you watch this guy not wasting his time on one task indefinitely, paying attention to details, and doing it fast because he knows the tool. He makes objects so finished they glow. He teaches you the basics like how to make the most of the snap-grid built-into INSPIRE, how to make polygons from scratch, how to "weld" them together, how to smooth-subdivide very simple objects, how to "smooth shift" (actually, the MAYA commands have different names...) and how to keep cleaning up the result until it meets inspection.
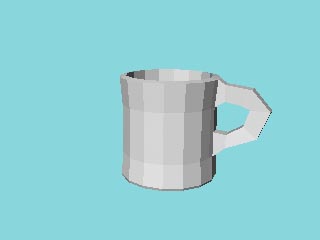
It turned out that many of the coffee cups I had made before this one, number thirty-something probably, had been very nearly correct. I had mistakenly used "extrude" instead of smooth shift, littering the inside of the extruded handle element with extraneous polygons that prevented good smoothing, AND when I had tried to join the handle, I probably had some hidden extraneous polygons in there, too, which made any NURBing a mess. They needed to be removed, and the resulting points merged. ("Merge" is something that is mostly invisible and doesn't necessarily affect rendering, but it makes selection much easier.) That cup handle was made by yanking four polygons (two top, two bottom) of the cup out from the cup using "Smooth shift" always with a "0" offset. "Smooth shift" is then followed by moving and rotating these "horns." Finally, the two polygon "horns" are connected by "welding" two-points-at-a-time the dozen ponts involved, AND then the polygons trapped inside the handle at the join then get removed. Those polygons are perpendicular to the surface and poke through as light lines, when you're starting out, this symptom of extraneous polygons may get ignored. The rest is light tweaking. The slight facetting in the cup is deliberate, no fault of INSPIRE.
When I used the INSPIRE3D coffee cup in "STUBBY," it irked me that I didn't know how to make a coffee cup of my own from scratch. How dare I include it on my demo reel! No longer!
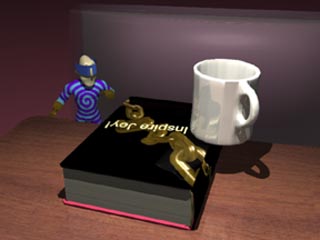
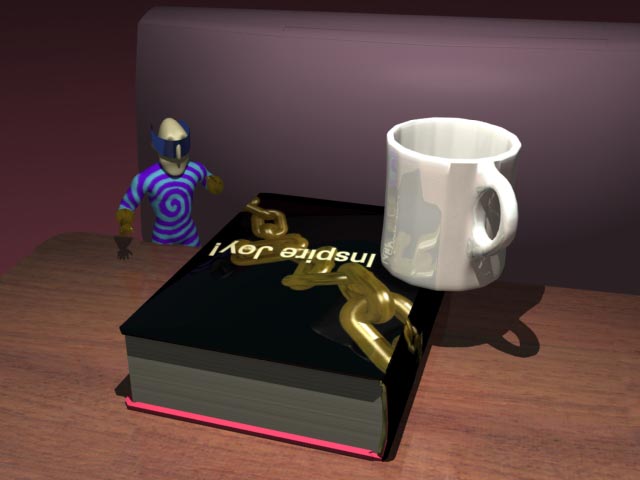
Notice anything missing? The third photo shows an "alpha" foreground version of the above shot. Rendering times dropped from 4:30ish to 23 seconds, but I lost a shadow. The shadow could be returned with front projecting, but I had not really tried "alpha" matting before. You just object-dissolve or surface-dissolve the background objects out (I also made the effects backdrop black, just in case) and save both alpha and normal images, then load those into the Compositing panel of the Effects panel. It's good to know this is an option. 4:30 is pretty ridiculous; some objects need editing in a big way if compositing drops rendering to 30 seconds. There is a lesson there I suppose.
The picture on the right is also a button to a modest 90K 7 second mpg animation.
All contents copyrighted Scott Lee Tygett c. 2001
< BACK . . . . . . . . . . . . . . < HOME > . . . . . . . . . . . . . . NEXT >