|
|
|
GALLERY CONTINUED
PAGE TWENTY-THREE
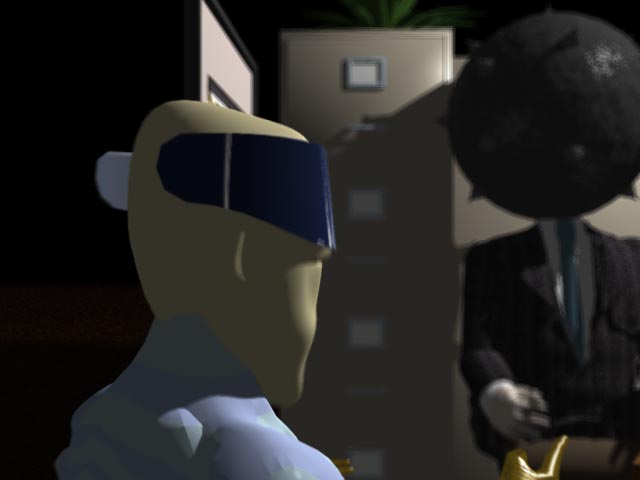
The blurred version. That's right! INSPIRE 3D can be easily configured to create realistic focus blur! The camera is parented to a Null that counter-rotates 720 degrees per second, offset from another Null that rotates 720 degrees per second. "Repeat" is activated in the Graph editor. Adding "motion blur" with a blur length of 100% and a medium-to-high anti-aliasing setting results in the image above.
Soft filter seems best applied to a Background composite Scene file loading from a sharp Image Sequence, rather than the actual rendering. The "load sequence" button in the Images panel is mighty powerful. About this time, I created a generic "Optical Blur" scene, so that blur could be added in compositing. The Blur scene is simply a card with a 640 x 480 Image Sequence planar-texture-mapped to it, and the camera framed for minimal cropping. A similar technique to the spinning-offset-null trick above is used to get a variable blur to short-cut an "anti-aliased" look. By altering the "orbit" of a targetted Null, a wide range of blur is produced, for background compositing depth of field blur, ersatz-anti-aliasing, "iris" effects, etc.

The sharp version makes a good case for forgetting that there is a trick to add depth of field blur to Scenes. I have heard that many studios do not use blur.
Shadow mapping can cut the rendering time in half.
INSPIRE 3D is powerful. I don't know how many times I should say this. Visiting the Los Angeles Lightwave Toaster Flyer group, I learned about the "spinning light trick," which Lightwave users employ to get diffuse light sources effects.
All contents copyrighted Scott Lee Tygett c. 2001
< BACK . . . . . . . . . . . . . . < HOME > . . . . . . . . . . . . . . NEXT >