|
|
|
GALLERY CONTINUED
PAGE THIRTY-FIVE
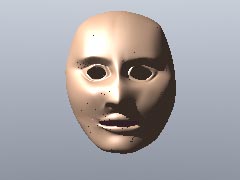
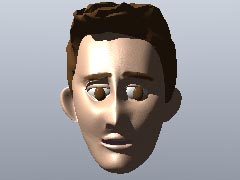
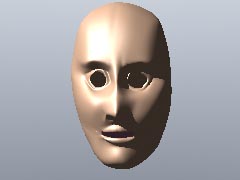
"Save Transformed" in in the Objects panel of INSPIRE can come in handy a lot of ways. Here, the "Spherize" plug-in in the Modeller module has been used to create an object from the face in the first image. Let us say you had created a cast of characters (or a single character with a complete set of lip-synch morph poses, within reason), and you wanted to apply a uniform change to all of them in a kind of automated way. This is one way.
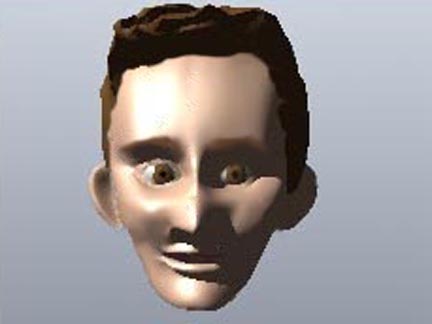
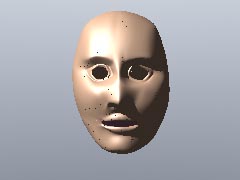
The third image is frame "sixteen" of a sixty frame morph. I usually parent the morph target to a Null and then size it using the Numerical button to the left of the Layout View screen to a "0" value. For some reason, not doing this results in the morph rendering as a double object with the morph target preserved. I usually rename that Null "Null for shrinking targets." In this case, I also created a Null for the Morphing source object, and parented the object in the first image to that Null.
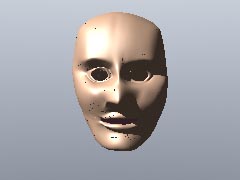
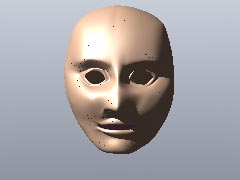
The fourth image is a result of changing the x-stretch of the Null for the first morph object for more of an egg shape. That fourth image looks fine to me -- hit the "save Transformed" button. We've got a model!
Although these face models are obviously "frozen," you want to do this technique with UN-frozen models; face-shape morphing with lots of polygons is a pretty steep learning curve, one hears.
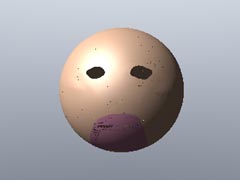
Incidentally, according to Greg Martin, who teaches NURBs modelling using MAYA, eyes are not supposed to be made leaving holes like this. There should be eye socket sacks, just as there is a mouth sack of polygons.
A better way to correct a dozen "face shapes" at once would be to create a Scene file with Bones altering the master face object where desired, and then replace the object with each of the dozen others, and using "Save Transformed."
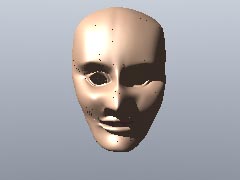
The fifth and sixth images are examples of using two bones to further "adjust" this morph object. One expanding the cranial area, while another larger bone gave the first something to react to. The effect is similar to "tapering" which can also be done in Layout, along with a half-dozen other Displacement plug-in's in the Object panel. The sixh image shows just the Bones effect, with the Morph target removed from the Head object, cancelling the morphing.
In the version below, the pre-frozen MetaNurb shapes (Saved without having "tab" activated or they would be invisible) were used for the Spherize morph, and the second bone was shifted from the forehead to the lips, where the mouth was made smaller by sizing the Bone smaller. Basically, this is taking the fourth image model and using a bone at the mouth. Then, this model was used for freezing and tripling, and hair, eyes and ears were added using the "Finish" button.(VERY old joke these days.)
When I had another look at the models on this page, I took a tip from Kursad Karatas in www.newtekpro.com to heart, to get models on track by playing with them in a paint box. Actually, I think the decision to go back to model #6 for its face-shape was an accident.
< BACK . . . . . . . . . . . . . . < HOME > . . . . . . . . . . . . . . NEXT >