|
|
|
GALLERY CONTINUED
PAGE EIGHT
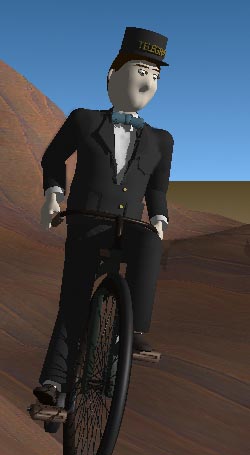
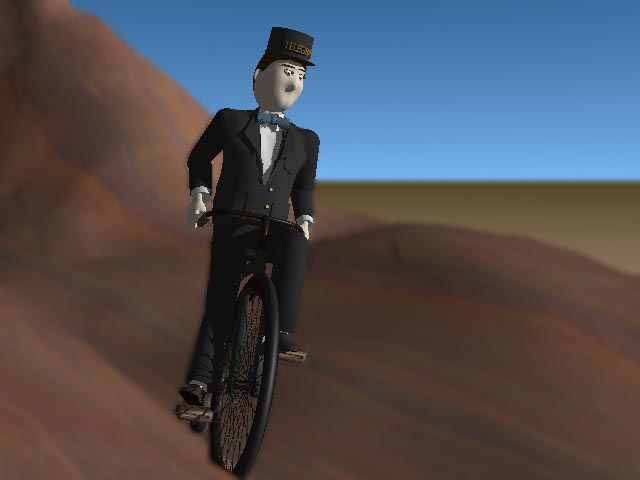
One of the cooler things one can do with the mini-basic Adobe PhotoShop, Adobe Photo Deluxe (which comes included with some scanners and printers), is this technique. If you do not want to try the depth-of field trick that uses heavy anti-aliasing here, this is one way depth-of-field or a variety of effects may be emulated. One saves the animation as tiff files instead of as an "avi," and opens them in Adobe Photo Deluxe. One copies the original picture (shown on the left), applies blur, pastes this image on top of the original, and then erases through it where one wants sharp focus. This is the same technique used to remove wires and armatures in "clay" animation, and it can be used to remove "ooopses," and add subtle or transparent effects to animations.
I strongly recommend using the "Spinning Light Trick" link here (and above) however.
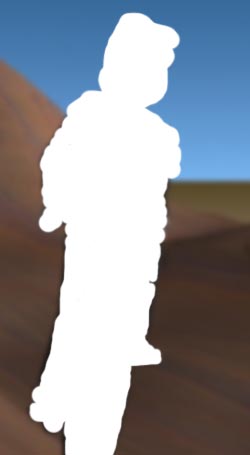
Another way of obtaining a similar effect would be to render the Scene without the bicyclist, as an "Image Sequence." One would then take the Sequence, and add blur by Planar-mapping it to a card object, and then increasing the "Anti-aliasing Strength" at the bottom of the Texture Mapping Panel, and re-rendering to a different-named Image Sequence (Anti-aliasing cannot be adjusted using Front Projection). This would then be "Front Projected" to the original road surface of the original bicyclist Scene. One nice thing about this is that the blur looks right, but it still has ray-traced shadows.
< BACK . . . . . . . . . . . . . . < HOME > . . . . . . . . . . . . .NEXT >